Social Media
Explore our library of social media articles and discover the social media marketing tips you need to attract followers and boost engagement.
YouTube Working to Combat Predatory Behavior
YouTube has certainly had its fair share of press in the past couple of weeks. First, there was hysteria about the “Momo Challenge.” This turned out to be a hoax. Then, there was the announcement that the platform would be taking action to combat predatory behavior against children in comment threads. This all started with…
10 Reasons You Need to Start Focusing on Facebook Stories

Tired of fighting to get your content seen in the regular Facebook newsfeed? Not sure how to organically bypass the regular algorithm? You might be missing out on a really compelling feature: Facebook Stories. This often-misunderstood feature originally allowed personal users to share snapshots of their lives for a limited length of time. It has…
Social Listening: What You Need to Know

While it’s important to have a social media presence, simply posting daily or running sponsored ads isn’t enough. You definitely need to understand your target audience and find new ways to create brand awareness. But what happens once you’ve put your brand out in front of hundreds, thousands, or millions of people? Do you just…
8 Things You Can Do to Better Utilize Your LinkedIn Profile

If you’re like a lot of other people, you might have a LinkedIn profile…but it never really sees the light of day. Maybe you log in once a year and tweak it slightly, or you log in regularly but don’t really “get” how to use it effectively. That might be a mistake! Professionals and business…
5 Ways to Use Pinterest to Strengthen Your Brand
Many businesses think of platforms like Facebook and LinkedIn in relation to marketing products and services. The reality is that consumers today are incredibly visual, and these sites alone may no longer be enough to keep their interest. Enter Pinterest. While it started out as more of a personal indexing site where people swapped recipes…
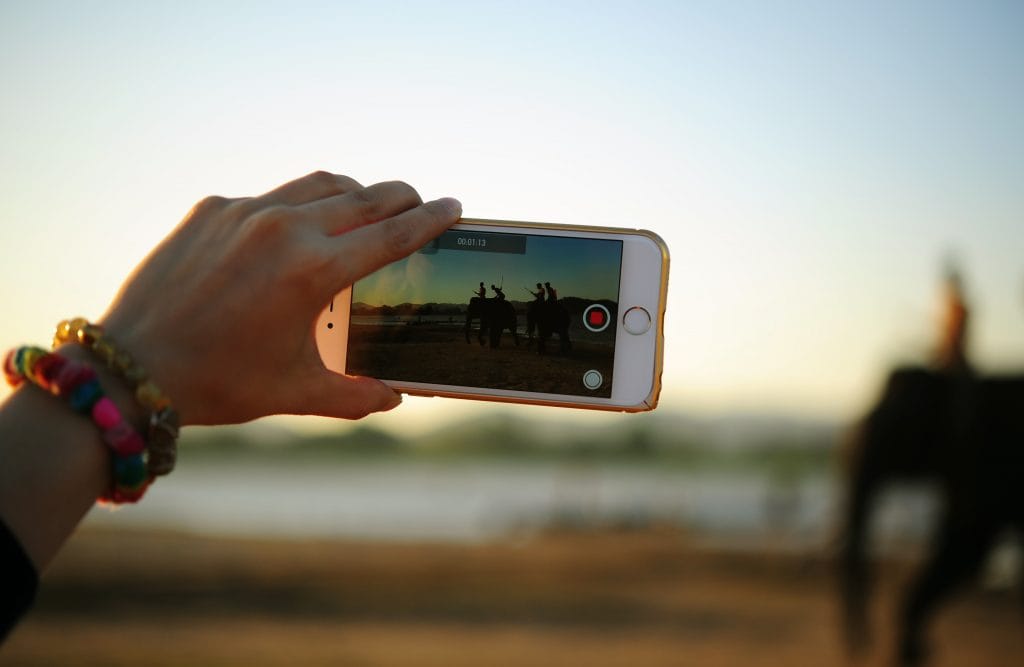
12 Easy Video Editing Tools for Stellar Social Content

Video marketing is where it’s at right now. You do, of course, need to continue creating all sorts of valuable content, but leaving video out of the equation is like leaving money on the table. Creating visual content is incredibly easy. There is really no reason to not be incorporating it in some way. 12…
Why The Best Influencers Aren’t Only on Instagram

How many sponsored ads did you see the last time you scrolled your Facebook or Instagram feed? Quite a few, I’m sure. Now, more than ever, I’m seeing brands partner with celebrity “influencers” as they work to create a new sense of brand awareness. But here’s the thing: influencers come in all shapes and sizes….
10 Ways to Use Twitter Lists to Strategize

I’m not really sure why Twitter lists seem to fall into the “secret squirrel” category. A lot of casual Twitter users don’t even realize they can create lists. And business owners? You’re definitely missing out if you’re not using them. Why? They are an incredible curation tool. You can use them to follow specific audience…
IGTV or Instagram Live? Here’s How to Pick

Video is the lifeblood of the Internet. It fuels our entertainment, lets us advertise products, and even has the potential to teach, inspire, and change the world. Now, even Instagram is getting into the game and letting people record longer clips. Instagram actually has one of the most robust video platforms on the market (aside…
Social Media Management & Personal Balance: How to Step AFK

Balancing social media management with personal life involves setting clear boundaries, scheduling content in advance, and using management tools for efficiency. Prioritizing mental health by taking regular breaks and not over-engaging with negative content is important. It’s also beneficial to diversify tasks and delegate responsibilities to maintain a healthy work-life balance in the demanding world…
9 Social Media Trends to Watch for in 2019

The New Year is right around the corner. With it will come brand new advice from every social guru you follow. While you want to keep up with upcoming trends, you don’t have to throw your entire social strategy up to this point out the window. Make sure you go into 2019 with the following…
The Ultimate Guide to Facebook Ad Campaigns for Beginners

I’ve written a post on how to optimize your Facebook Ads strategy, but I’ve never taken the time to break the process of creating a campaign down step-by-step. For us here at Sachs Marketing Group, we’ve implemented countless social media ad campaigns, so we’re familiar with the process. But if you’re not – this guide’s…
Social Media and the Holidays: Mistakes to Avoid

The holiday season is incredibly festive and fun. It also just happens to be a great time of year to be creative with your social media content. Occasionally, though, we see someone take the fun a little too far – they get a little too pushy with their marketing or they try to use humor…
Planning Your Email Marketing Leading Up to the Holidays

Like it or not, the holiday season is here. The kids are back in school. Halloween, Thanksgiving, and Christmas items are on store shelves all at the same time, and you need to wrap up your holiday email campaigns to take advantage of the ever-growing buzz. We’ll show you how in today’s post! Discover the…
Social Marketing 101: Utilizing Pinterest

At first glance, Pinterest may seem like just a platform for stay-at-home-moms, crafters, and foodies, but the truth is that it’s a rather diverse platform where people can peruse and “pin” their favorite pieces of content on their own “boards.” These boards serve as indexes for future reference, which can make them a powerful marketing…
10 Things You Need to Know about Instagram’s IGTV
Just a few months ago, Instagram officially launched IGTV. This brand-new, shiny longform video app gives creators the ability to publish content that is up to an hour in length, instead of just a few seconds. Before the launch, Instagram story videos were capped at 15 seconds; main feed videos were capped at around one…
Holiday Instagram Hacks for Businesses

Believe it or not (like it or not?) the holiday season is once again just around the corner. Summer is coming to a close, pumpkin spice is making a comeback, and Instagram continues to climb in popularity, showing massive strength for marketers this fall and winter. With Instagram’s rapid rise in the digital marketing world,…
Is Facebook the Next Best Zone for Influencers to Make Money?

We spent the last year telling you that Instagram is the biggest up-and-coming platform, both for regular businesses and for influencer marketers. Now, we’re about to turn that advice on its head and suggest that Facebook may be a serious contender for second place by the end of the year. Facebook officially launched a…
Here’s How Instagram’s New Algorithms Functions

Instagram is changing – okay, that’s not really a new phenomenon, really. The platform evolves every few months much like Facebook, changing back end coding here and there to hopefully produce better results for users and advertisers. The most recent changes, however, are a bit more involved. Essentially, Instagram is changing how their feed works….
Mastering Reputation Management on Social Media Platforms

Social signals – how many collective shares, mentions, likes, and follows your business’s social media profiles have on an ongoing basis – are a big deal right now. They hold significant weight in determining rank because Google sees a high degree of positive interactions as indicating that you’re reliable, trustworthy, and ultimately, sharing content your…
5 Facebook Changes Spurred On by Cambridge Analytica

Facebook is currently struggling from a poor public image issue. Somehow, the platform managed to allow research company Cambridge Analytica to not only access, but retain years worth of private data for nearly 50 million different users on the platform. Users who, for the most part, had no idea their info had been gathered,…
How to Create Instagram-Worthy Photos to Grow Your Account

Creating Instagram-worthy photos involves understanding good lighting, composition, and the use of color. Utilizing the rule of thirds, experimenting with different angles, and ensuring high image quality are key. Editing photos for a consistent aesthetic and using filters judiciously enhance appeal. Capturing unique, authentic moments and storytelling through imagery resonates with Instagram audiences. Taking fantastic…
The Ultimate Guide to Running Successful Facebook Ad Campaigns

I’ve written a post on how to optimize your Facebook Ads strategy, but I’ve never taken the time to break the process of creating a campaign down step-by-step. For us here at Sachs Marketing Group, we’ve implemented countless social media ad campaigns, so we’re familiar with the process. But if you’re not – this guide’s…
Tracking Social Media Campaigns in Google Analytics

Your website and social media presence work together to build the foundation of your business – whether you actually conduct business online or not. While there are many tools to help you measure the success of your social media efforts on the platforms themselves, translating that success to measurable results for the business itself can…
Your Complete Guide to Creating Native LinkedIn Video Content

LinkedIn is one of the last platforms to add support for uploading videos. Video marketing has a remarkable return on investment, and with the addition of native video, now those in the B2B space have an even better shot at using LinkedIn. Though the rollout has begun, if you don’t have the ability to upload…

OTHER ARTICLES YOU MIGHT BE INTERESTED IN

SMG Marketing Makeover 2025 - What’s Working, What’s Not, and What’s Next

Using Community Outreach as a Marketing Strategy


A Complete Guide to Google Performance Max (PMAX) for Healthcare

Tips for Spring Cleaning Your Digital Marketing Efforts

Medical Practice SEO - The Ultimate Guide for Doctor's Offices

10 Digital Marketing Ideas for Doctor's Offices
