
If you’ve determined you need to make changes to your website – either through a re-design, changing your URL structure, making the switch to HTTPS, or switching to a different CMS, it’s not a one-step process you can just decide to do on a whim. Making changes, particularly to the URL structure can have negative SEO effects if you don’t know what you’re doing, and if you don’t follow a series of steps.
I wrote this step-by-step guide to help save you frustration and preserve any existing ranking you may have.
Overview
Step 1: Plan Your Migration
Choose the right time to make the switch, and talk to any teams, if necessary. If your busy season is over the summer, don’t start the process in May. If your busy season is over the holidays, don’t start the process in November. Make sure you provide leeway in your timeline in case you run into problems throughout the process.
Before you do anything to your website, create the sitemap for your new website. Build your hierarchy, including all site pages, images, video, and other assets.
Export the list of URLs you have on your existing site. It’s not a good idea to change the URL structure of pages outside of the top level domain, but you should export the entire list of URLs that are on your site so you can see the big picture, You’ll be able to see all the major sections you need to keep an eye on when your new site goes live. You can export it with a number of tools like Google Analytics, or the WordPress Export All URLs plugin.
You’ll also need to make sure you have a complete list of all the URLs you’re using in any PPC campaigns – more on that later – to avoid negatively affecting your quality score.
Compile a list of all the URLs planned for the new site, and then map each URL from the old to the new site, individually. This will make it easier to implement 301 redirects to tell Google and other search engines where to send users when they click a link from your old site in the search results. Failing to do this can cause you to lose ranking.
Take a look at where your site currently ranks, so you can track your ranking progress throughout the migration process. Use as many keywords as you can – don’t stick to a handful. Opt for several hundred if possible.
While benchmarking ranking, also take time to benchmark your organic traffic levels. Include visits, unique visitors, bounce rate, and conversions for each individual page on your current website.
Prepare your ads for keywords that your site ranks well on organically. This way you’re ready to go if your organic rank tanks after the new site is launched.
Analyze the existing site’s backlink profile with a tool like Ahrefs, Majestic SEO, or Open Site Explorer. Find the most authoritative links so you can make sure they’re switched when the new site goes live.
Register and configure the new domain, if you’re switching domains, in Google Search Console and generate an XML sitemap.
Step 2: Prepare and Test Redirects
Prepare and test al the 301 redirects at page levels for all URLs from your old domain to your new domain. Don’t forget to include 301 redirects or any subdomains.
If you’re not switching domains, but switching to HTTPS, or otherwise switching your URL structure, this is important. If you’re keeping the URL structure intact, and simply switching from one host to another, you don’t need this step.
You can test your redirects with Redirect Checker or Screaming Frog SEO. There’s no need to test them all manually.
Step 3: Password Protect New Domain and Block Crawlers
If you’re using a new domain, you’ll want to password protect it and edit your robots.txt to block all crawlers, so the staging site isn’t indexed. Use noindex meta tags, too. If you skip this step, Google can index the site and it may lead to duplication issues since it will have both the old and new site in place. It’s possible your old site will rank below the new one, and no one wants that.
Step 4: Publish Content to New Domain/Host
Publish your content to the new domain.
Step 5 Check All Pages
Check that all pages exist with the correct information. Check that all internal links work correctly. Check that images and other assets are working correctly, as well. Remove any noindex tags.
Step 6: Disable Password Protection
Disable your password protection. Implement your 301 redirects from the old to new domain. Move through the next two steps quickly, so the redirects don’t go to a blocked site.
Step 7: Verify Redirects are Working
Verify the redirects are working as expected. There’s no need to do this manually.
Step 8: Edit Robots.txt
Update your robots.txt to remove the block on crawlers, so search engines can crawl the new site.
Step 9: Inform Google of the Change
Tell Google the site has moved using the Change of Address option in your old domain’s account in the Google Search Console. You can skip this step if you’re not changing to a new domain.
Now, go to the Google Search Console of the new domain. Select “Crawl > Fetch as Google.” Crawl the homepage and main category pages, and submit each of them to the index. Submit your new sitemap to Google, too.
Step 10: Update Google Search Console, Analytics, and My Business
Don’t forget to change the URL in your external properties such as Google Search Console, Google Analytics, and Google My Business. Forgetting this step can make it hard to get data you need to monitor your migration.
Step 11: Change URLs in Social Sharing Buttons
Change the URLs in your social sharing buttons to ensure the share counts are carried over to the new website. You may lose the SEO benefit of social shares, but since social signals play a minor role in ranking, it’s not a big issue.
Step 12: Reach Out to Site Owners
Go back to your preparation for the site migration and reach out to the site owners where your most valuable links come from. Ask them to change the destination of the links so they point to the new URLs. This will ensure the maximum amount of link juice is passed through since there will be no redirect to interpret.
Step 13: Monitor the Migration
Check the Google Search Console every day for a month after the migration. Look for crawl errors. Fix any you find as soon as you find them.
Crawl your old URLs once or twice a week for the first month to make sure the 301 redirects are still working.
Check the indexation of both the new and old domains in the Google Search Console and with a site: search in Google for reference. You should see the old website gradually decrease and then disappear, while the new site increases.
Check your benchmark rankings to make sure your organic visibility is maintained, and that the ranking URLs are what you expected.
Check your positions for keywords as often as you can throughout the launch and the months that follow to make sure you’re not getting any errors.
Monitor organic traffic volumes and what your organic visitors are doing to make sure the new site is still getting traffic and users can successfully navigate through it.
Work on continuing to update any external links to the old domain when possible. Though the link juice will flow through the 301 redirect, it’s more valuable if they’re pointing directly to the URL.
Maintain the 301 redirects at the old domain until it stops being indexed, attracting links, and referring traffic.
Step 14: Create New Ads for PPC
If you’re running any kind of PPC campaigns for the old website, you’ll need to create entirely new ads for the new domain and URL. Running ads to the old site will affect your quality score. You can use this tactic to help you recover from a traffic dip if the organic traffic doesn’t transfer the way you’d hoped.
Approach with Caution
Site migrations need to be carefully planned and executed to preserve any ranking you already have in place. It’s important to remember migrating your site won’t help you recover from a penalty – only removing the content or issue that caused the penalty will do that. If you have any old redirects in place, you must update those, too. But each time you have a redirect in place, the page load time is increased as the newer version is loaded. Your bounce rate will increase as people are forced to wait as they are redirected from one page to the next. Lots of things can go wrong in a migration – and it’s not just changing domains – any change in URLs can create issues.
Need help with a site migration, or SEO after a migration? Get in touch and see how we can help.

OTHER ARTICLES YOU MIGHT BE INTERESTED IN

AI in Addiction Marketing: Leveraging Automation and Data-Driven Personalization

Beyond the 'Call Now' Ad: Using Funnel-Based Messaging to Nurture Drug Rehab PPC Leads

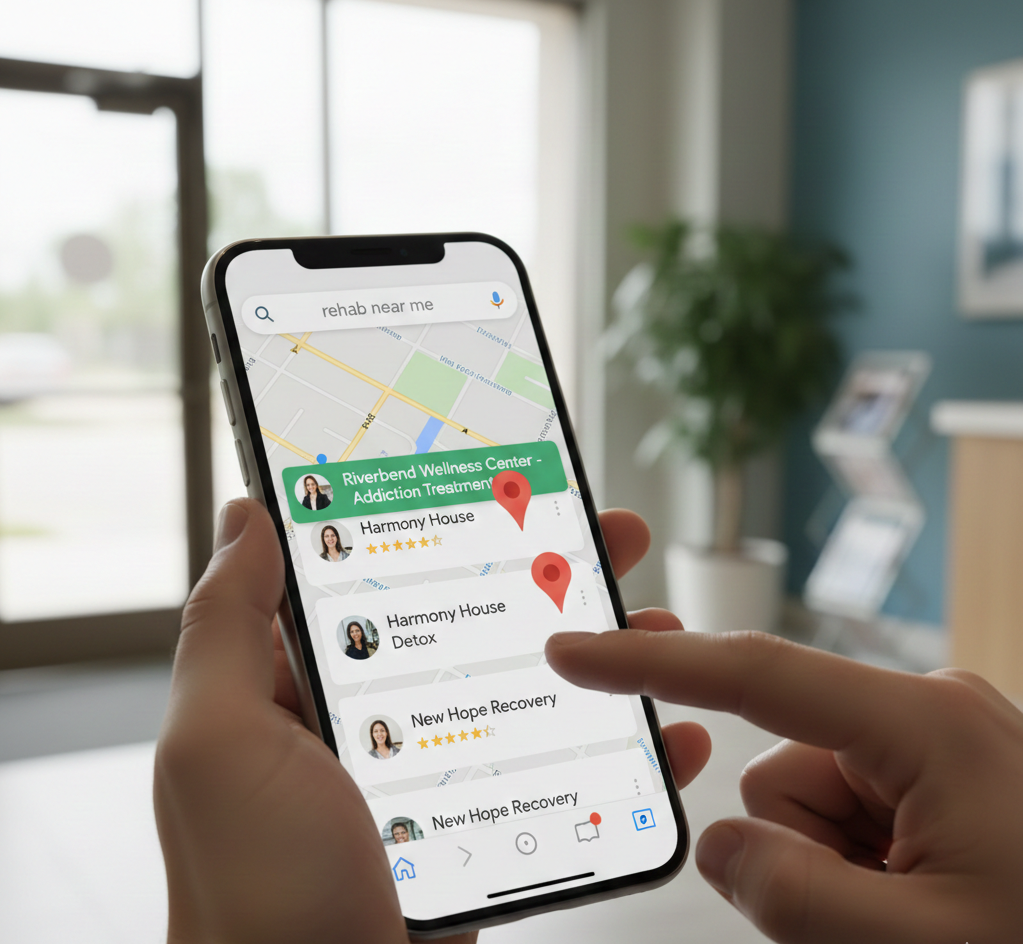
Winning the Local Search War: How to Master Google's Map Pack for Rehab Admissions
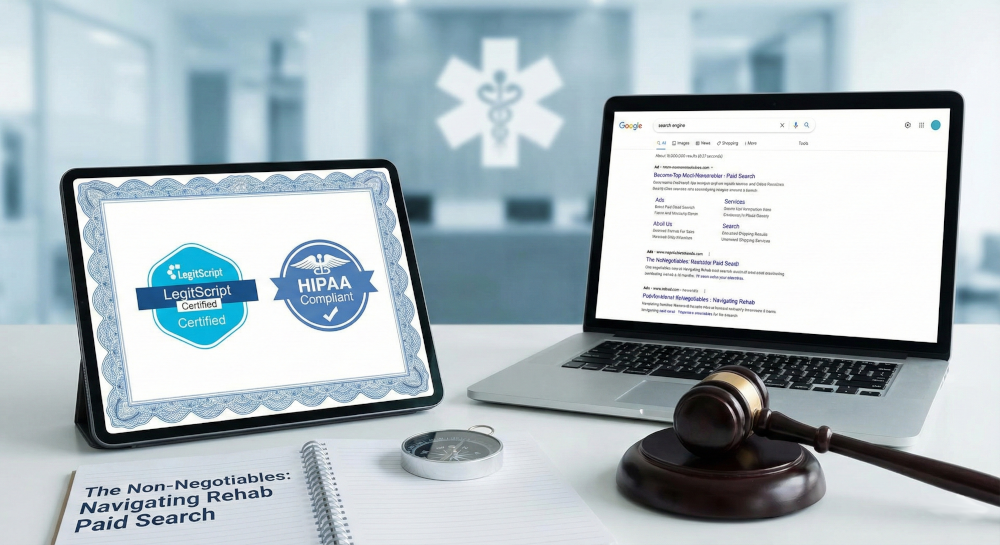
The Non-Negotiables: Navigating LegitScript and HIPAA Compliance for Drug Rehab Paid Search
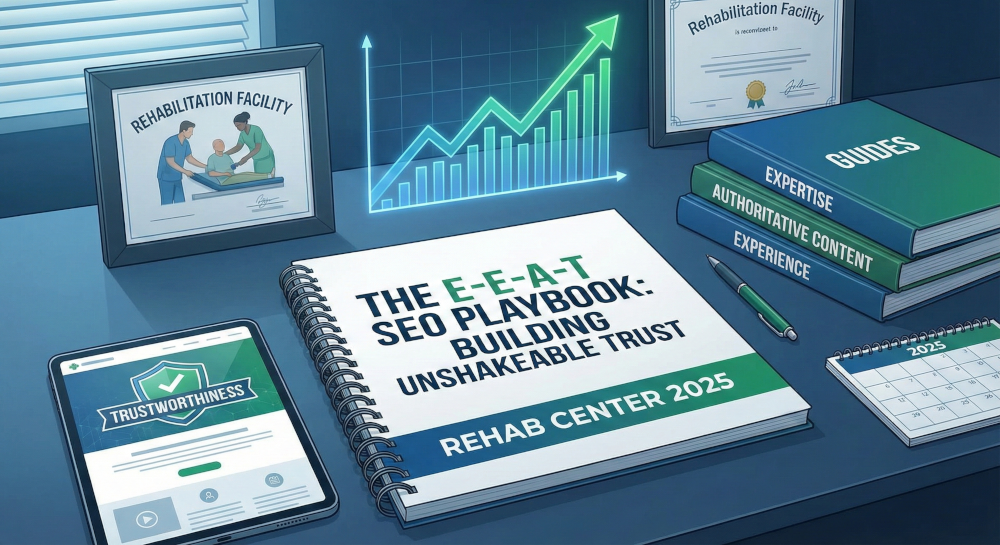
The E-E-A-T SEO Playbook: Building Unshakeable Trust for Your Rehab Center in 2025

Beyond the Bed Count: Marketing Client-Centered and Trauma-Informed Care

Contact us today to get the conversation started!