
There’s been some recent buzz about switching your website from the standard HTTP to the more secure HTTPS. While many large websites, especially those in the e-commerce sector have been using it for years, Google announced it as a lightweight ranking signal back in 2014. That means it didn’t affect much, in fact, it only affected fewer than 1% of global queries. However, they said in that announcement they wanted to give webmasters time to make the switch over to HTTPS because they may strengthen the weight of the signal. They’re making this move to boost internet safety in the hopes that more of the web will shift over to HTTPS.
So, should you make the switch? It depends.
Overview
A Non-Technical Explanation of HTTPS
Hypertext Transfer Protocol (HTTP) is a system for sending and receiving information across the internet. HTTPS is another version of that system, where the “s” stands for secure. The two methods follow the same basic protocols, but the HTTPS version is faster, and encrypted for better privacy. It’s a bit more complex than that of course, but that’s really all that matters for the non-technical SEO, and to your audience.
SEO Implications
When and if Google decides to place more weight on HTTPS as a ranking factor, you’ll be ahead of the game. You won’t have to scramble to make the change and hope it works well, meaning you should see a boost right away, rather than having to wait for it. That small boost may not seem like much, but if you’re running a large website, that boost could mean tens of thousands of extra visitors every month. If you’re just getting started, however, it’s likely you won’t see a difference in your search traffic.
It Fosters User Trust
One thing worth noting is the way HTTPS displays in the user’s browser. The screenshots come from Chrome, but similar messages are displayed in Firefox and other browsers, too.
But take a look at what happens if the website isn’t using HTTPS.
Simply because there’s no HTTPS in place, the browser displays a message that lets you know your connection isn’t private. That doesn’t necessarily mean your information is at risk, or that attackers are coming after the website, but for the less than web savvy user, it could signal major red flags, working against the trust factor.
All you have to do is click the “Advanced” link in the lower corner, and you’re given a chance to proceed to the original website anyway. In most cases, this is okay to do, but some people may be afraid of the warning and not realize it’s still safe.
If you just have a blog, and you don’t require anything more than their email address to get their opt-in consent, there’s no real reason to switch to HTTPS – unless you expect to get a significant amount of search traffic in the next few years. But, if you’re collecting any kind of personal information or accept payments on your website, you should have HTTPS at least on the pages collecting the sensitive data.
Making the Switch
Step 1: Select Your SSL Certificate
Secure Sockets Layer, or SSL, is the standard technology HTTPS uses. Your website must have an SSL certificate installed for it to become HTTPS. There are three different types of certificates to choose from:
- Domain Validation:This is the basic (and therefore most affordable) option. It only covers encryption. These certificates are issued almost immediately.
- Organization Validation:This includes encryption and authentication. If you’re collecting any kind of personal information, this is the option you should go with. These certificates are issued in about 24 hours.
- Extended Validation:This is the most expensive option, but it provides top of the line security. It is the best level of security you can get under HTTPS. You don’t need it unless you’re a huge e-commerce website, or a website that collects important private information. This is the type of certificate big names like Twitter, and financial institutions use. These certificates are issued within three to five days.
Step 2: Buy Your SSL Certificate
You can buy SSL certificates from a lot of different websites, and because it’s possible to find different types at varying price points, it’s possible to shop around for the best deal. But, I recommend purchasing your certificate from your hosting company, since they sell them anyway, and most hosts will help you install them, too. It’s a measure of convenience worth looking into.
Hostgator, for instance, has SSL certificates starting at $39.99 a year, with extended validation certificates costing $269.99 a year.
Step 3: Install Your SSL Certificate
If your web host doesn’t install the SSL certificate on your server for you, start with Google, and search for the name of your hosting company and SSL certificate installation. If you can’t find anything, contact the company’s support. The process differs between hosts, so it’s impossible for me to provide a breakdown of each step required. Remember, SSL certificates are specific to your IP, so cannot be on shared hosting to install it. Some companies, like Bluehost, offer a shared certificate for those on shared accounts.
Step 4: Create a URL Map and Redirect Your Site
Currently, all your URLs are HTTP, and the HTTPS version is a completely different URL. It’s a pain, but it’s a simple process. Copy all your site’s pages and redirect all of the old HTTP versions to the new HTTPS pages.
If for any reason you want to make changes to your site structure or the URL format, now’s a good time to do it. If you’re using WordPress, you can add the 301 redirects to your .htaccess file. Each line needs to look like this: Redirect 301 /oldpage.html https://www.yoursite.com/newpage.htmlwhere you edit the bold parts.
Step 5: Update Internal Links
Hopefully, you’ve been using relative URLs – those that don’t specify an entire URL, but instead add something to the end of the domain. If you didn’t build it this way – instead using absolute URLs, where the entire URL is specified, you’ll have a bit more work to do.
Relative links won’t need nay work – because when you switch to HTTPS, the link will take you to the HTTPS version instead of the original HTTP. If you use absolute, though, you’ll have to change everything over to HTTPS yourself.
Step 6: Update Image Links and Any Others
I wish I could say you could be done when you’ve updated the site itself and all the links to pages on your site. But, you also have to update the links to resources, including styles sheets, scripts, and images.
Right click any page on your site and click “View source.” You’ll see a lot of tags that look like this: <script src=”https://www.domain.com/js/file.js” />
The issue is all files used on your site also use HTTPS. If the resources are located on your domain, you need to make sure they point to the correct HTTPS location. If you have both HTTP and HTTPS, you can use protocol relative URLs to ensure it pulls the correct version. <script src=”//www.domain.com/js/file.js” />tells it to pull whichever version the protocol is calling for – so if it’s coming from HTTP, it will pull that one.
If you’re using a content delivery network (CDN), make sure it supports HTTPS. Most do, but not all, so it’s worth double-checking. If yours doesn’t, you’ll need to switch to one that does. Your CDN should have instructions on how to implement HTTPS, but if they don’t, contact support.
To make sure you don’t miss any links that need updating, use a site crawling tool like Scream Frog SEO to get a full list, filtered by internal, external, and images to see what’s on your website. You don’t have to worry so much about the external ones, unless you happen to know they’ve also made the switch to HTTPS.
Once they’re all set to HTTPS, it’s time to move on to the next step.
Step 7: Add Your Site to Google Search Console – Again
It’s time to update your site in Google Search Console so Google starts to crawl it again. This way, you reduce the chances your traffic is negatively affected by the switch. The reason for this step is because the HTTPS version of your website, even though it may look the exact same, is considered a completely different website. Submit a new sitemap in your listing, too. Then, resubmit your old sitemap so Google will get the 301 redirects and update the listings.
Step 8: Testing to Make Sure Everything Went According to Plan
At this point, it’s time to test everything to make sure it went the way you intended. If everything ran smoothly, you should see no real change – other than maybe a small boost In your search rankings.
If you notice a traffic drop off that lasts more than a day or two, then it’s possible you have a problem and you need to go through the steps in this guide again. You should also ask your host or an SEO consultant to help you. Start by making sure your SSL certificate is installed correctly, using a free SSL server test. Put in your homepage URL and it will test everything for you. Click around the pages on your website and make sure that lock icon is showing up in your browser.
Technical SEO May Suck – But It Matters
I know not everyone loves the technical side of SEO, but the structure of your site matters just like the content on it. If you don’t address the technical side, you could have a site that would rank no problem, and still have trouble getting to rank where it could. HTTPS may not have that much ranking strength now, but it’s always better to try to be one step ahead.
Have you made the switch to HTTPS? Why or why not?

OTHER ARTICLES YOU MIGHT BE INTERESTED IN

AI in Addiction Marketing: Leveraging Automation and Data-Driven Personalization

Beyond the 'Call Now' Ad: Using Funnel-Based Messaging to Nurture Drug Rehab PPC Leads

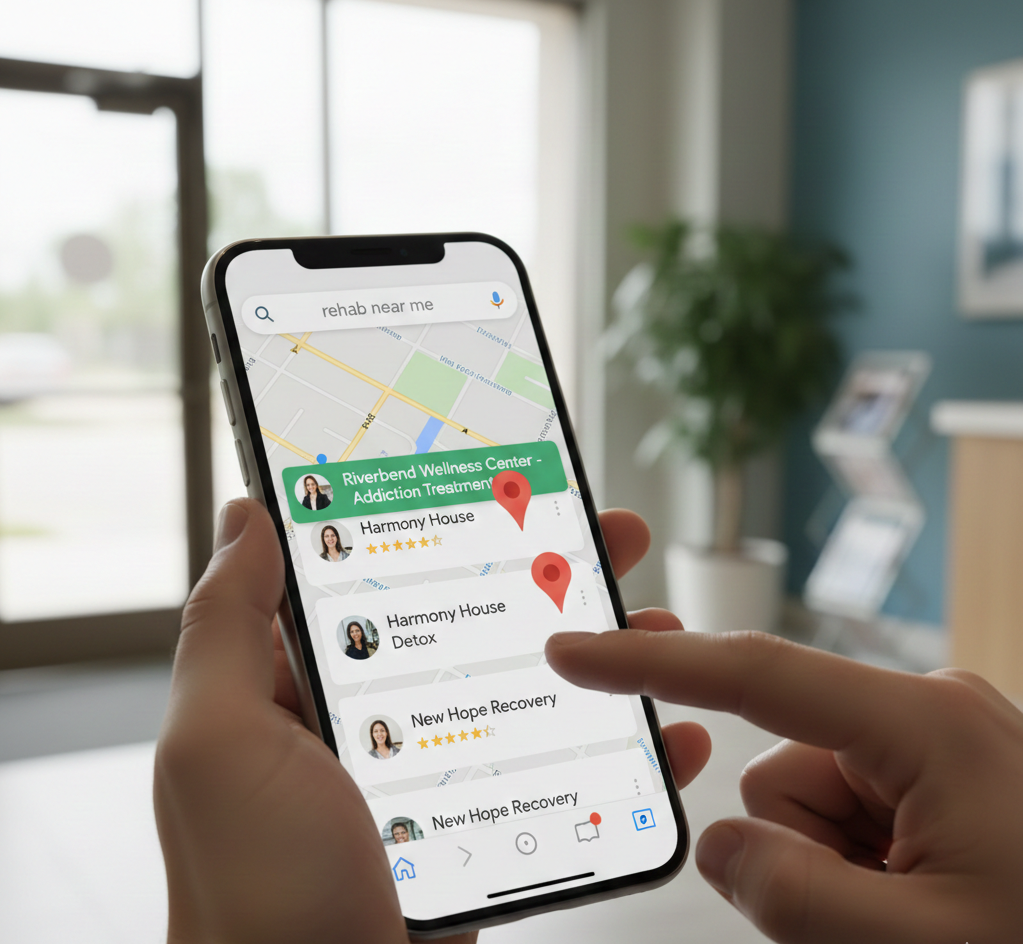
Winning the Local Search War: How to Master Google's Map Pack for Rehab Admissions
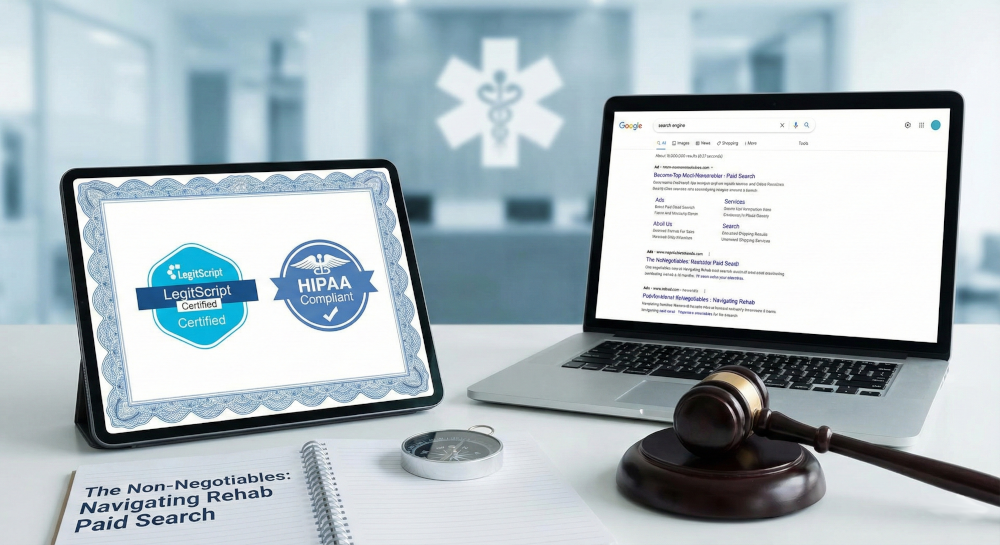
The Non-Negotiables: Navigating LegitScript and HIPAA Compliance for Drug Rehab Paid Search
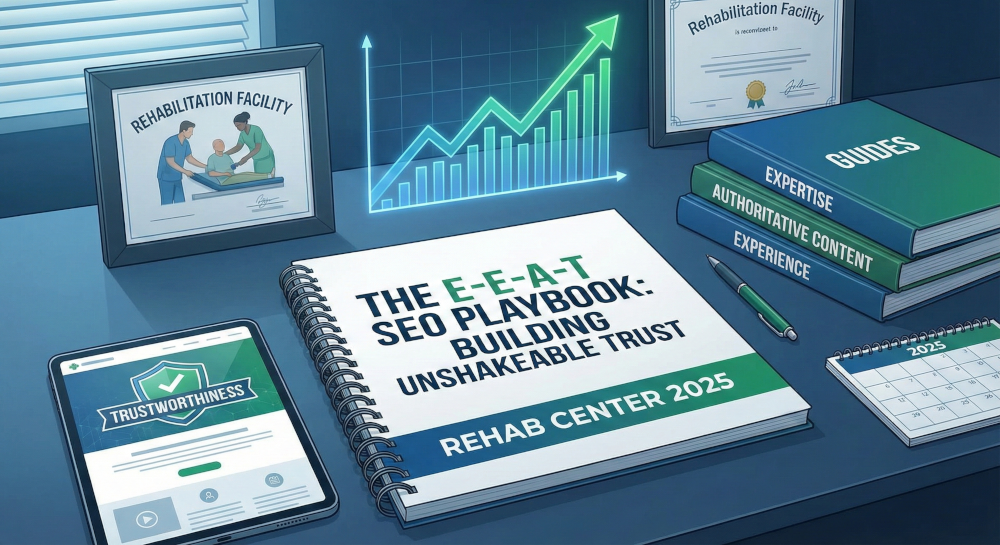
The E-E-A-T SEO Playbook: Building Unshakeable Trust for Your Rehab Center in 2025

Beyond the Bed Count: Marketing Client-Centered and Trauma-Informed Care

Contact us today to get the conversation started!