
Web hosting is a critical service with a huge market, with variable offerings designed to provide a flexible selection to potential customers. However, as with most things, the general rule is that you get what you pay for.
Some hosting companies offer a wider selection of perks and a greater level of service for the appropriate price. But for a website just getting off its feet and acquiring early traffic, springing for the best package available can seem like something of a waste, especially if your digital budget is limited.
But like a kid going through puberty, there may come a time when your website begins to outgrow its hosting. The growing influx of traffic, increasing demands on the hosting’s ability to load pages, and massive library of content can strain an average hosting service. At some point, you might need to upgrade and migrate your website.
Migrating a website is easier said than done. Depending on how your website is structured, you have a few different ways to go about it. If you’re using a content management system (CMS) like WordPress, your options are even greater.
Overview
When Is It Time to Migrate?
There are two general circumstances under which you should consider switching your hosting provider:
- You’re outgrowing your current hosting, and you want a better offer.
- Your hosting provider’s quality of service isn’t quite what it used to be, and it is beginning to affect your business.
While migrating a website can be complicated at first glance, it’s much simpler than it used to be, and you don’t have to be a professional webmaster to get it done. Here’s how even a novice blogger with a successful and growing WordPress site can migrate to a better, more suitable web hosting.
How Do You Migrate a WordPress Website?
This basic guide will be assuming that you can’t get your new host to do it for you. If you haven’t checked, go visit your new chosen hosting provider to see if they offer their own proprietary tool and tutorial for transferring a WordPress site onto their service. Most of the time, this consists of filling out a few crucial details, submitting them, installing a plugin, following their instructions, and then waiting.
Aside from getting your hosting provider to do the migration for you, there are two ways of migrating a website through a CMS like WordPress.
You can go the automated route of using a WordPress-specific migration tool or plugin, or you can go the old-school or manual route, the same as migrating any other website, CMS or no.
Going the manual route will require an in-depth tutorial, especially if you’re a beginner to File Transfer Protocol (FTP), SQL databases, and WordPress config files.
We will not be covering the manual process today, but there are plenty of guides out there on various FTP clients, MySQL administration tools, and config file editing.
Utilizing a WordPress Migration Plugin
If you do not have a hosting-specific migration tool and step-by-step tutorial, you can still take advantage of the power of WordPress plugins to simplify most of the process.
There are other hosting migration tools such as the All-In-One WP Migration plugin, which tops the results for migration plugins at over 4 million active installations. Alternatives include the WPvivid migration tool and the Jetpack all-encompassing WordPress plugin, which also provides security features, malware scans, spam blocking, and more.
If you want even better plugins, you can pay a premium price for more feature-complete migration tools.
The individual steps you will need to take to migrate your website with any one of these tools can differ from tool to tool.
For the most part, however, your journey will always start in your Dashboard, or the backend of your WordPress site.
Start by logging into your Dashboard, navigating to the Plugins menu, and installing your plugin of choice via install new. Activate your chosen plugin.
If you’re migrating to a new hosting and a new domain, you will need to go into your WordPress dashboard in the new site and install the same plugin.
From there, make sure that your plugins match between both the old and new site, and make sure every plugin (AND your WordPress installation itself) is up-to-date.
You can use a temporary domain to setup and test your new WordPress installation. Domain names are addresses used to point people on the Internet to different web servers – a temporary domain allows you to make sure that everything is in working order before you point your existing domain to your new hosting provider.
Use any temporary domain and make sure your website isn’t indexed by search engines by going into the Settings tab, then the Reading tab, and checking the Discourage search engines from indexing this site box. Remember to uncheck this once everything is done.
From there, you can use the plugin’s backup and migration options on the old site to transfer your content over to the new site.
It’s critical that you do a backup first.
WordPress as a CMS is a skeleton on which the meat of your site is installed – what you’re doing is zipping that meat up into an uploaded file, downloading that file, and exporting it to your new page via the same plugin.
Next, it’s time to double-check that everything went as planned. Check your posts, your images, your archives, your pages. Refresh your new site and go over it in detail.
If you are transferring to a new domain permanently, a major point of difficulty is that all your old content, CSS styling, and pages will still be referencing your old domain.
If you aren’t transferring your domain over, but are opting for a completely new domain, you will have to address this – thankfully, there are multiple advanced Find-And-Replace WordPress plugins that allow you to automatically replace all instances of your old domain name with your new domain name. It’s a good idea to install one of these plugins anyway to comb through your new installation for potential errors or problems.
Otherwise, the final step will be to point your domain towards your new hosting provider, through the backend of your chosen hosting service. You can do this by logging into your hosting server and looking for a list of nameservers to point towards. Then, you log into your domain registrar, where you bought your domain, and navigate to the option to point towards a new nameserver through your domain management options or domain settings.
It can take time for these changes to go into effect. This is because of worldwide DNS (domain name system) propagation. If domain names point to actual locations in the real world, then the DNS is a worldwide address book. It can take a few hours to update accordingly.
In Summary
Migrating to a new host is a great idea for a number of reasons, including better services, greater resources for your website, being able to handle more traffic, and letting you increase the size of your site.
However, it can be a complicated process, and the more complex your website, the more difficult it becomes. Sometimes, a WordPress site can’t just be migrated safely through plugins. Sometimes, there’s no way around a manual migration.
If you’re not up to the task, consulting a webmaster or asking your web hosting to help can make things a lot easier. You can avoid the headache of a million unseen problems and errors halfway through the process by asking the right people the right questions. And remember – hosting-specific tools and tutorials are usually going to be more helpful than general guides.

OTHER ARTICLES YOU MIGHT BE INTERESTED IN

AI in Addiction Marketing: Leveraging Automation and Data-Driven Personalization

Beyond the 'Call Now' Ad: Using Funnel-Based Messaging to Nurture Drug Rehab PPC Leads

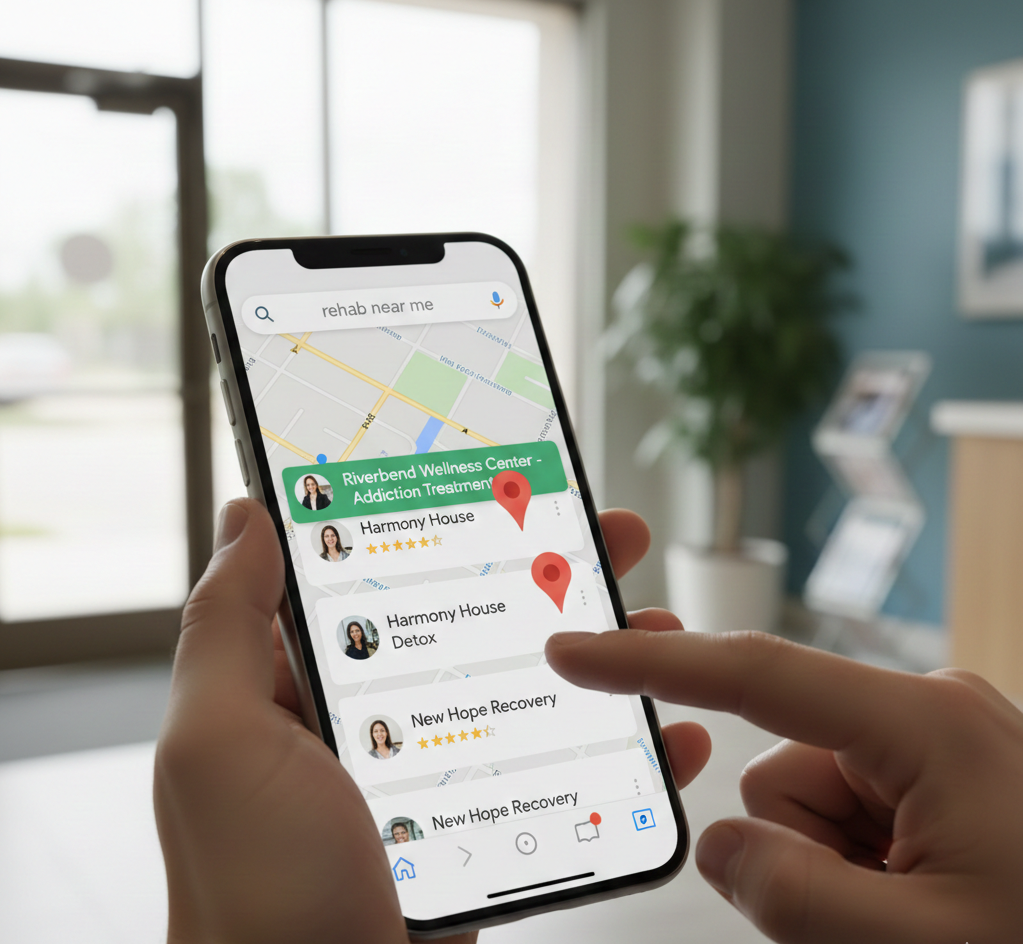
Winning the Local Search War: How to Master Google's Map Pack for Rehab Admissions
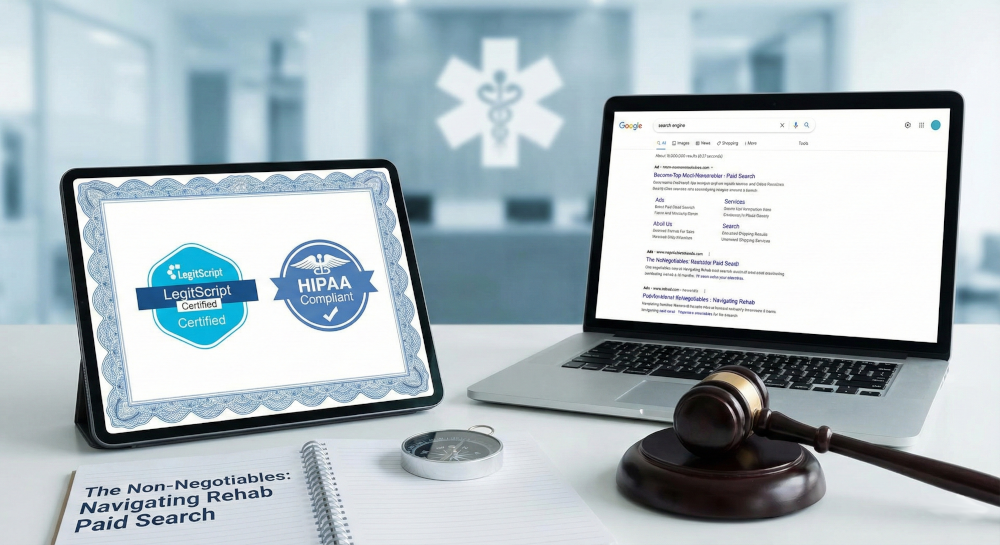
The Non-Negotiables: Navigating LegitScript and HIPAA Compliance for Drug Rehab Paid Search
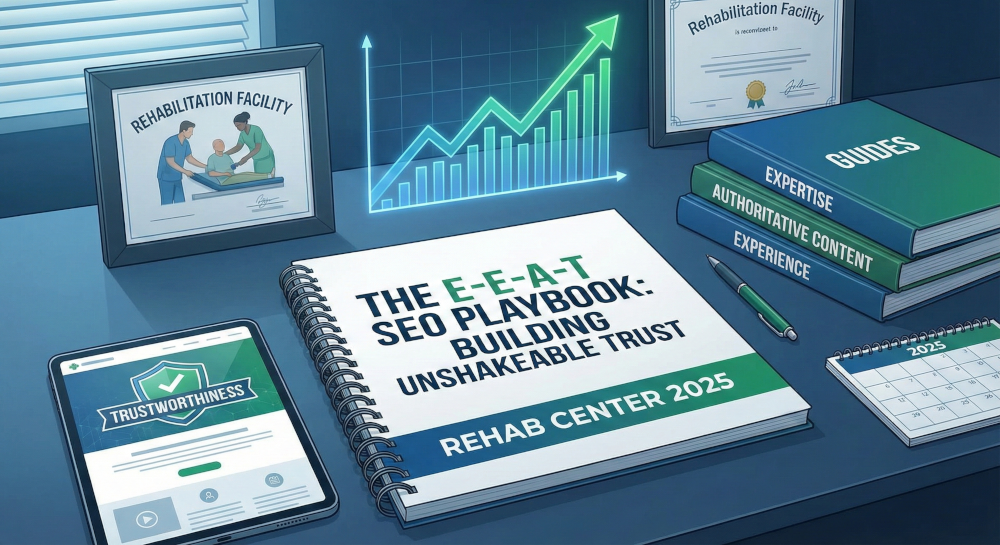
The E-E-A-T SEO Playbook: Building Unshakeable Trust for Your Rehab Center in 2025

Beyond the Bed Count: Marketing Client-Centered and Trauma-Informed Care

Contact us today to get the conversation started!